A glass pond is an easy way to make your backyard spectacular. As you can see what’s going on inside the water from one or two sides.
In this blog post, we will be going over the steps to build a glass pond. For you to have a successful DIY project that can last for years and years, some important steps need to be taken. This blog post is designed with these things in mind so please read on!
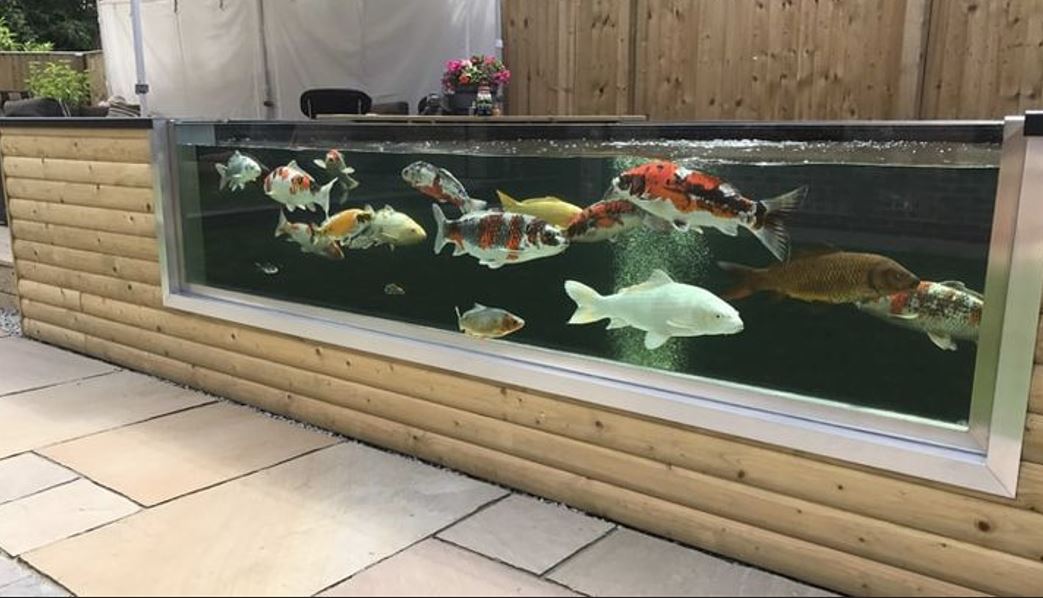
Table of Contents
How To Build A Glass Pond
You can build a glass pond in several ways, but first, let’s talk about what you’re trying to achieve. There are two main goals when it comes to building one:
- To make an aesthetically pleasing and visually stunning feature for your garden or home that will be admired by all who see it;
- To provide beautiful scenery for the fish in your aquarium so they feel at peace with their environment.
Step 1: Design and Location For Your Glass Pond
You should make a pre-design for your glass pond using any software such as AutoCAD or use your hand-made design. Designs also depend on the material you are going to use, which is why it’s best if you search through designs online that will help frame your project easily. You can find these types of materials at local building supply stores; however, this may not be possible depending on where you live in regards to availability in some areas so do some research before heading off!
When building a glass pond, it’s important to choose the right material. I would recommend that you use concrete or wood when framing your design and make sure there is space inside of them for the glass walls. A square-shaped fish tank will work well with this type of frame as most people only fill up two sides out of four (or one side if they want an L shape), leaving room for sliding in some nice clear plexiglass panels on all other sides. For those who are looking into creating something more unique and visually stunning, I suggest using different materials like metal piping which could be bent into any desired form without compromising its structural stability or having to embed support rods at every bend point!
If you want to create a glass pond, then your entire wall doesn’t need to be made out of shatterproof material. Just leave some space for a window and place the water on level ground where there will still be enough sunlight. Sunlight is essential when growing plants in an enclosed environment like this one so make sure that both sides are exposed at all times!
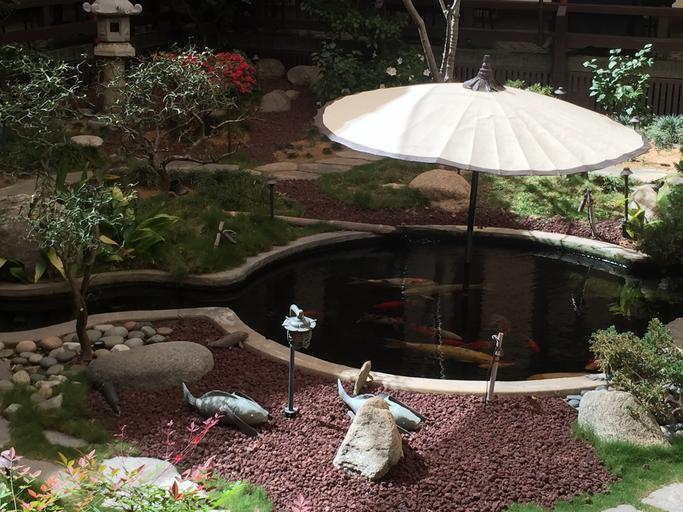
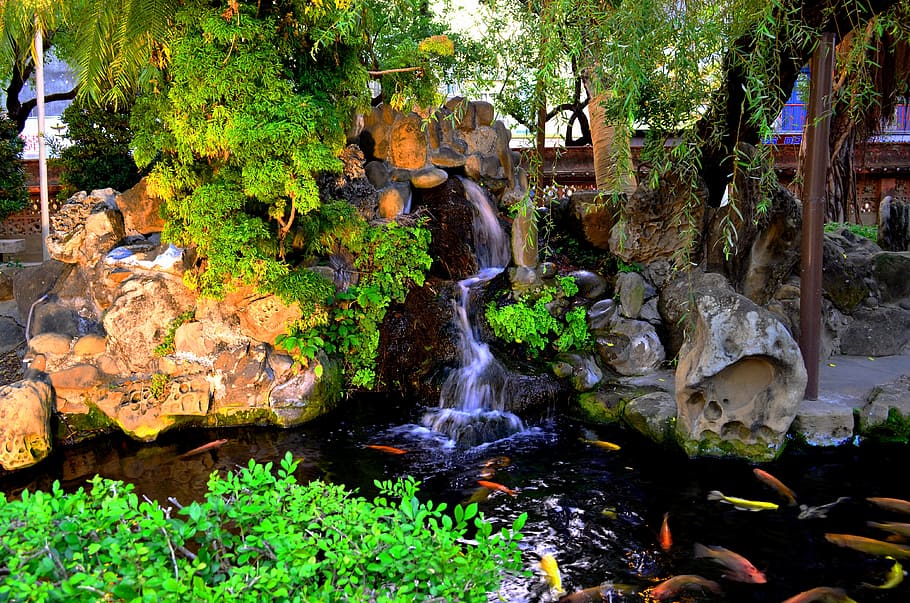
We recommend putting these ponds near trees or other natural features as they’re great places to relax with the soothing sound of running water from nearby streams, rivers, or lakes – even if those sources aren’t included in your garden design yet!
You should build your glass pond so you can get access to an electric socket so that you can power all of your pumps and light fixtures for a beautiful nighttime experience.
Step 2: Making The Frame Of The Pond
We all know that an excellent pond requires a sturdy frame and it’s crucial to think about the design first before getting started. You want your glass pond square-shaped, not some odd shape like round or triangular because then you need more materials and screws just to make sure everything stays together! Once you have picked out what size will work best for where you’re putting in this cool feature (keep in mind if there are any rocks involved), measure up accordingly so wood needs to be cut according to the widths of both sides. Using wood makes building frames easier than other substances – they give extra support without too much weight added on top.
Then you can make two or three more layers depending on the height you prefer for your glass pond. after building the layers, place them on top of each other at the location you choose for your glass pond.
Now, if you want to make one side of the glass pond wall with full glass, then you need to build three sides of the square-shaped pond first. After that, you need to put the glass wall and complete the square frame for your pond, but remember, a big glass wall will cost you way more money than a glass window.
So, I suggest you go for a glass window instead of a glass wall.
Now, you need to cut the wood wall of the pond according to the size of your glass window and in the next step, you’ll put the glass on that space you just cut.
Step 3: Making The Glass Window For Your Glass Pond
After you’ve cut the section for your glass window from your glass pond wall, you need to install a stainless steel frame for the glass on that section. Screw the stainless steel frame to the wood wall of your pond and leave it to get completely dried out then clean it properly.
Stainless steel frame provides the best safety for your glass window. Now, you need to buy a glass for your pond according to the size you’ll be using for your glass pond. You can buy these glasses from the internet or any local shop.
After collecting the glass, put it on the stainless steel frame then use a glass sealer to seal the window area completely so that it gets water-proofed.
Step 4: Attaching Pond Liner To your Glass pond
Buy a good quality rubber pond liner for your glass pond. Put it on the pond to cover the whole area. Now, press the pond liner down into your pond to match the shape with the glass pond and flatten it against the pond wall as much as possible.
You’ll see that the pond liner is hanging over the glass pond wall so you need to use clips to fix it with the top of the wall.
Now, cut the pond liner according to the size of the glass window section, otherwise, you won’t be able to see through the glass window.
Step 5: Adding Sand Or Gravel On The Glass Pond Floor
Once you’ve attached the pond liner completely then you have to put sand or gravel on your glass pond floor. Putting gravel is better than sand because sand can create a mess in your pond and make it look dirty.
You should make at least a 1-inch gravel layer covering the glass pond floor. Now, put some rocks or bricks on the gravel layer to create different depths in your pond. Make some shallower corners in the pond for animals to hide from predators.
Step 6: Filling The Pond With Water
You should collect rainwater to fill your glass pond with it because rainwater is safer than tap water as it contains less harmful chemicals. Rainwater helps to maintain a healthy pond environment for the living things in it.
But if you can’t manage rainwater then use a hosepipe attached to a water tap to fill your glass pond. After filling your pond leave it to rest for 2 -3 days for the harmful chemicals to escape from the water.
Step 7: Adding Plants And Fishes
Collect some good quality aquatic plants and oxygenating plants for your glass pond. You need to put the aquatic plants along with the aquatic composite in a plant basket in your pond. They should be placed in various depths.
Use oxygenating plants such as water crowfoot, and hornwort. Oxygenating plants keep the water clean and help to control algae growth in your glass pond.
When you are done placing the plants, add fish by your preference. To give the fish a better environment, install a filtration box and a pump, which will provide the fish with adequate oxygen.
Apply these steps and your glass pond building will be done. You can then enjoy the view of the inside of the pond from outside through the glass window.
Maintenance & Care Of Glass Pond
A glass pond needs extra care in its glass window section. Glasses can be very sensitive to hard materials and gets fragile easily. You should be careful working around your glass pond so that any object can’t damage the glass window.
Keep your children and pets away from the glass pond because they can cause damage to the pond and themselves. You can cover the top of your glass pond which will save the pond from materials like fallen leaves and debris. But you have to ensure that the glass pond will get enough light after covering the top and you can install light to minimize the situation.
Clean the top of your glass pond daily and check if the filtration box and the pump are working properly or not. You’ll notice algae growth in your glass pond after some days, you need to clean them up using your hand otherwise it will damage the water quality.
Aerating water is important for the living things in your pond and it increases fish lifespan. You should aerate your glass pond water often to maintain the fish and plant environment.
Check for drainage holes in your glass pond, if you find any then seal it as quickly as possible.
Benefits Of Glass Pond
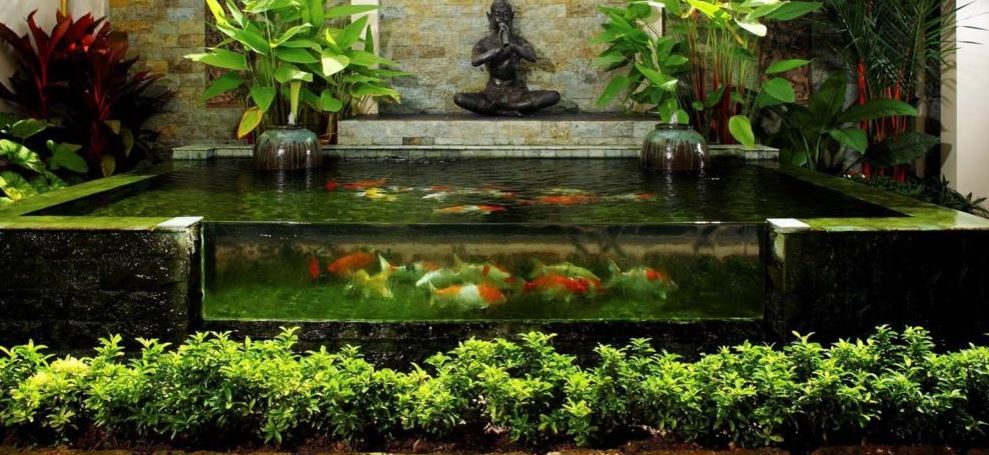
Glass ponds are unique looking because of the glass window feature built on them. They provide a pond view like no other typical ponds and it creates a huge mass attraction. Glass pond increases your garden or backyard environment and you can relax watching the fishes inside the pond through the glass window.
If you build a large glass pond, you can keep large fish like koi and that will surely add beauty to your garden
It can work as a shelter for wild animals which will provide an authentic natural aura in your area.
Frequently Asked Questions About Glass Pond
Can I Put Soil On My Glass Pond?
You can put soil in your glass pond, but I would not suggest you use soil in your pond. Soil tends to make the pond dirty and the fish in your glass pond will eat them which can be pretty harmful to the fishes.
You should use gravel every time instead of soil or sand.
Can I Add Koi Fish In My Glass Pond?
Glass ponds are often used as the koi pond and you can add some koi fish in your pond for your purpose.
You have to install a special filter box and pump for koi fish and provide sufficient food and light for them.
Building a pond with a glass window or glass wall can be expensive depending on your design and uses.
So, you need to be sure about your budget range before building a glass pond.